Custom Tracking Domain (CNAME) Overview
What is a Custom Tracking Domain?
With Rockerbox, you can use a Custom Tracking Domain so Rockerbox trackers and pixels are loaded from your website’s domain (e.g. rb.mysite.com) instead of getrockerbox.com.
What are the benefits of using a Custom Tracking Domain?
A Custom Tracking Domain improves Rockerbox’s ability to accurately track users & connect all their touchpoints. Because a Custom Tracking Domain will load trackers and drop cookies in a “first-party” context using your own domain, browsers will enable those cookies to stick around longer and be more easily accessible.
How do Custom Tracking Domains work?
You will have to add a CNAME record to point a subdomain of your site (e.g. rb.mysite.com) to a special endpoint provided by Rockerbox. This will enable all traffic to the subdomain to be forwarded to Rockerbox, while still appearing to browsers/ad blockers like a built-in part of your site.
A Canonical Name, or CNAME record, is a type of Domain Name System (DNS) record that maps an alias name to a true canonical domain name. Rockerbox Your system administrator, or whoever has set up your domain name, can help create a CNAME record.
The subdomain will only need to be added to your external DNS, not your internal DNS.
How do I set this up for my account?
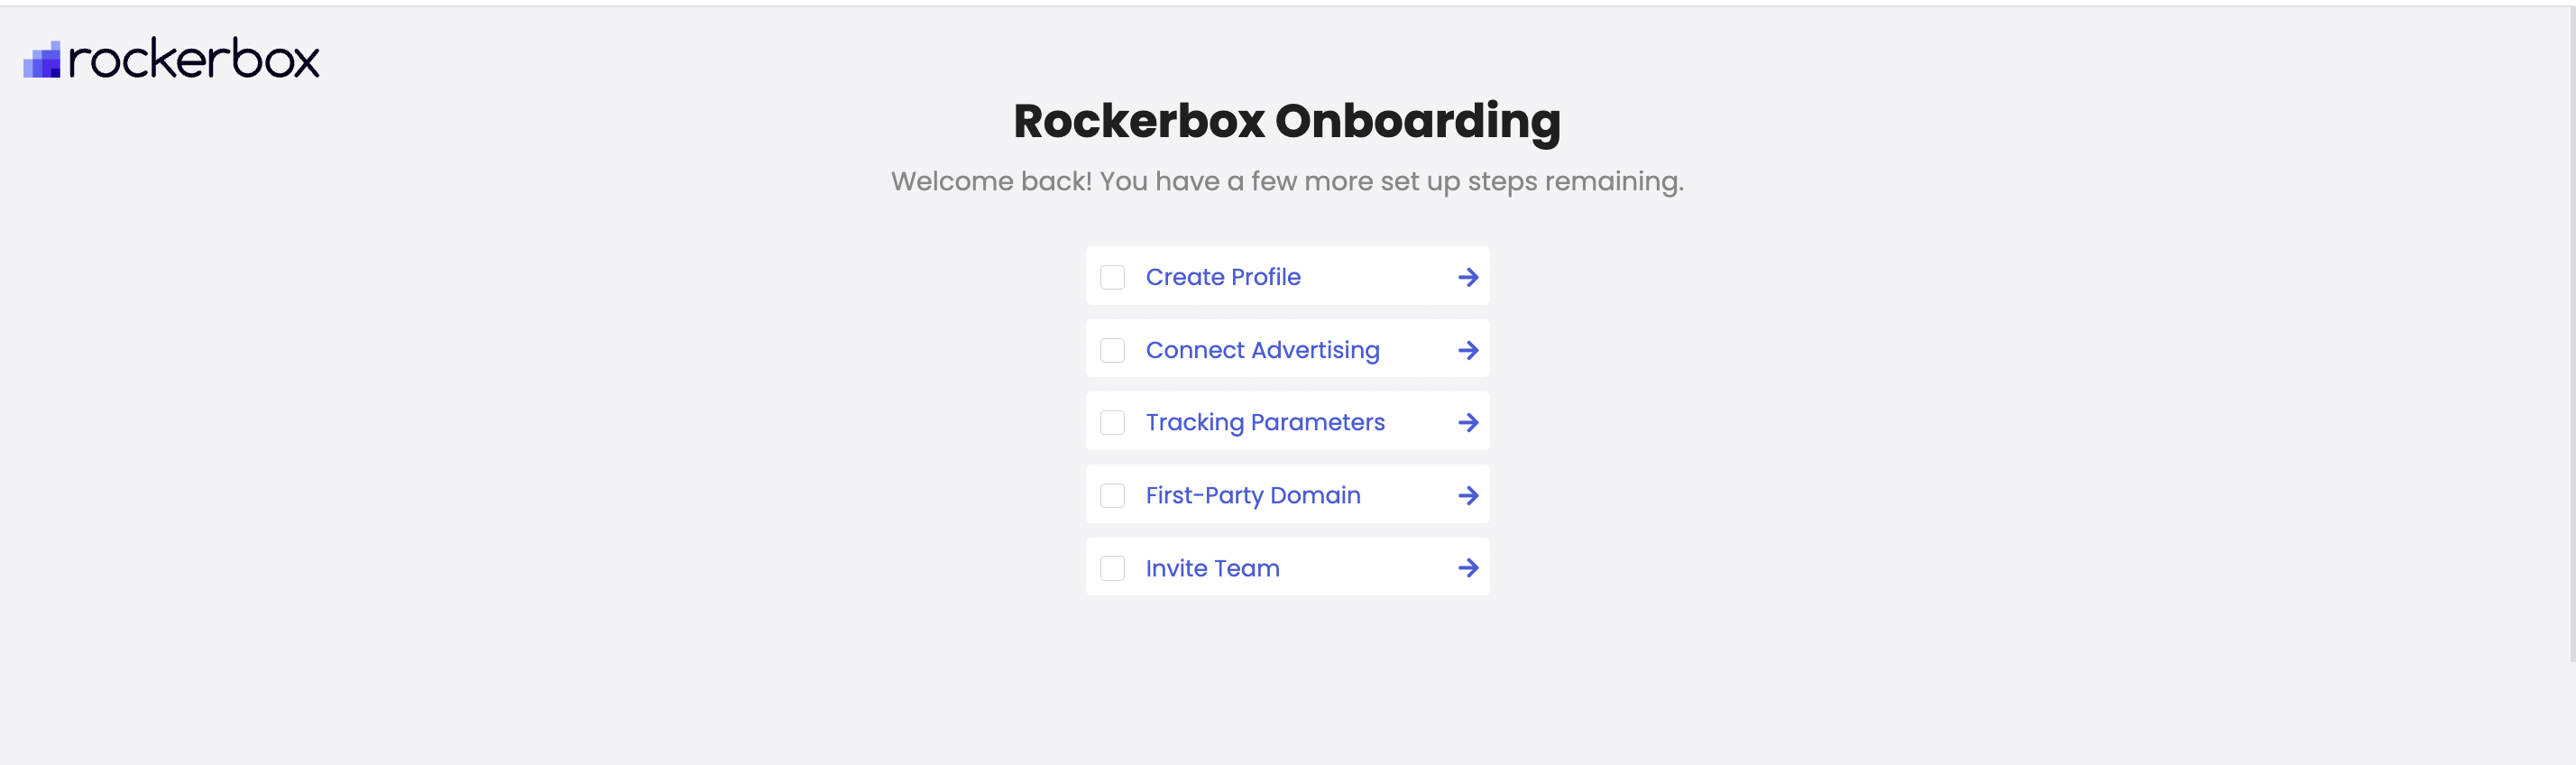
1) Go to the First Party Domain section in the initial onboarding flow.
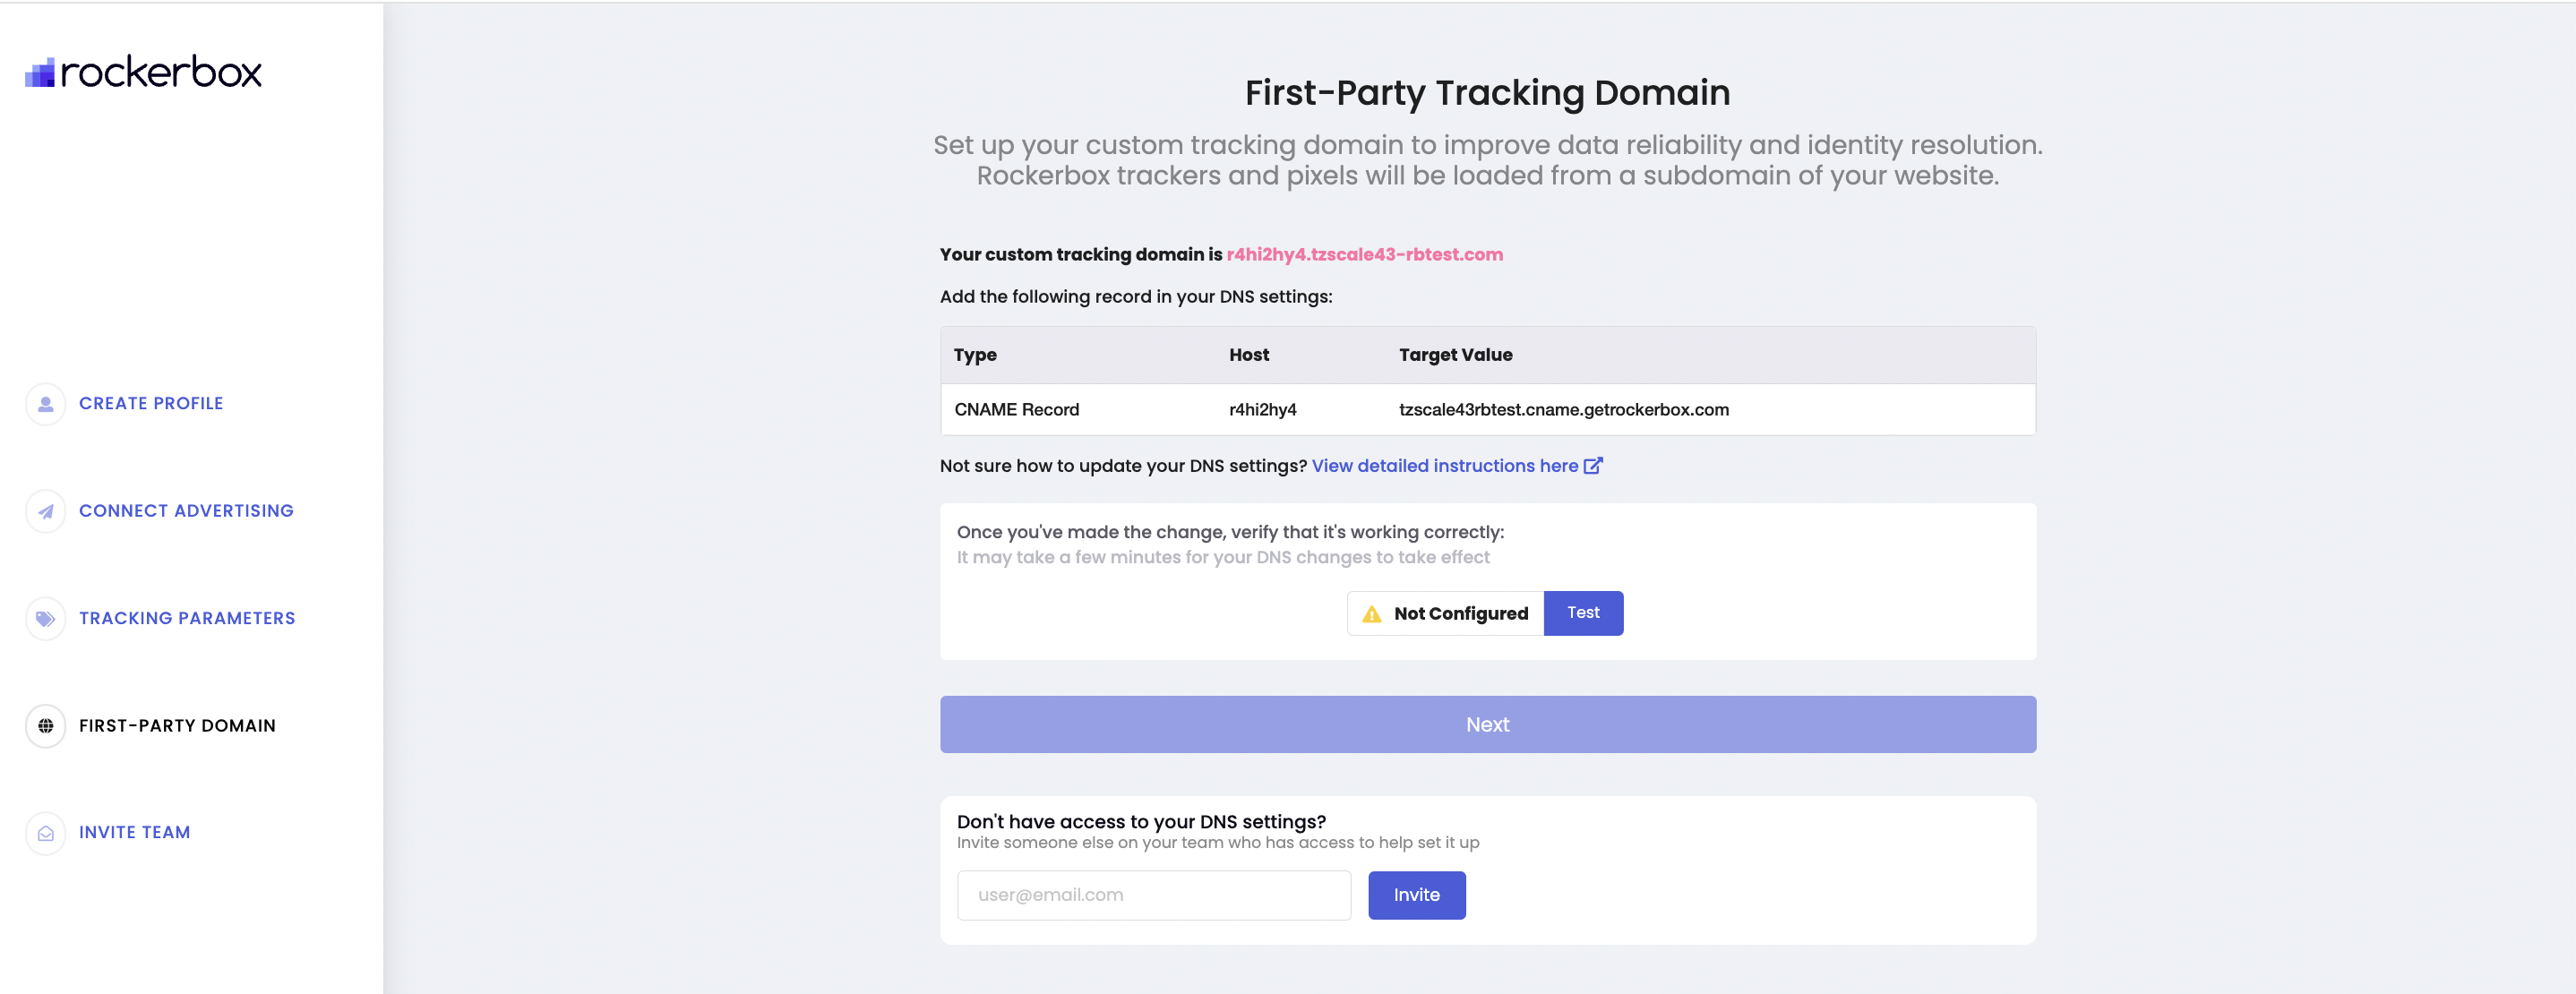
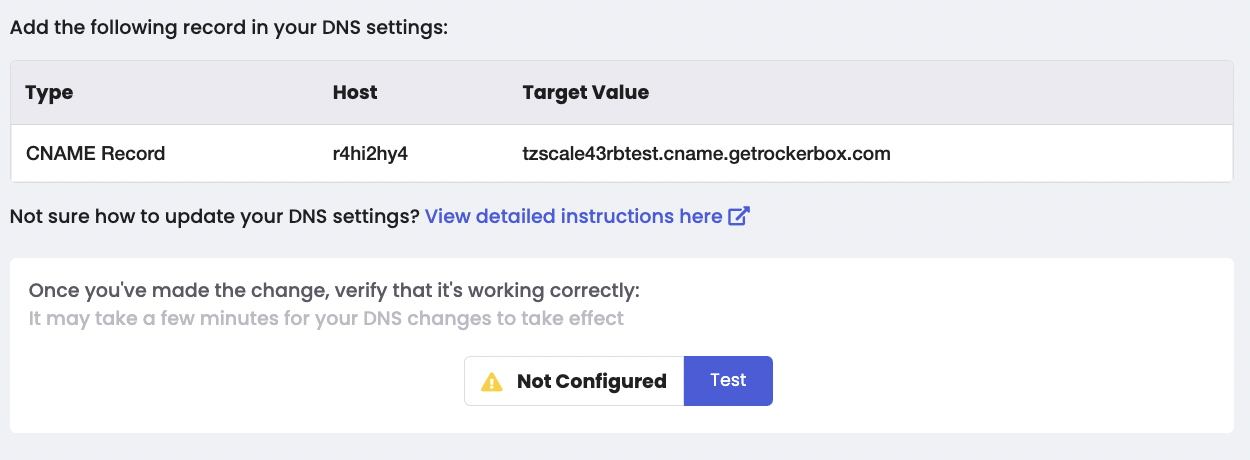
2) You will find the CNAME record you need to add in your DNS provider in the First Party Domain section in the initial onboarding flow
If you need help adding a CNAME, here are instructions for some popular domain providers: • GoDaddy • Google Domains • Namecheap • Cloudflare
TTL: Certain domain providers will require a TTL. Please set this to the lowest value that the DNS provider will allow. If a custom value is available for seconds set it to 60 seconds.
3) Once you have added the CNAME record in your DNS provider, go back to the First Party Domain section in the initial onboarding flow and click the “Test” button.
If everything is set up correctly, you will see a “Verified” message.

If you are using Segment, please follow the instructions here to update your Rockerbox destination settings in Segment to use your custom tracking domain.