Step 1: Redshift Data Warehouse Setup
This page will take you through the steps of creating an IAM Role.
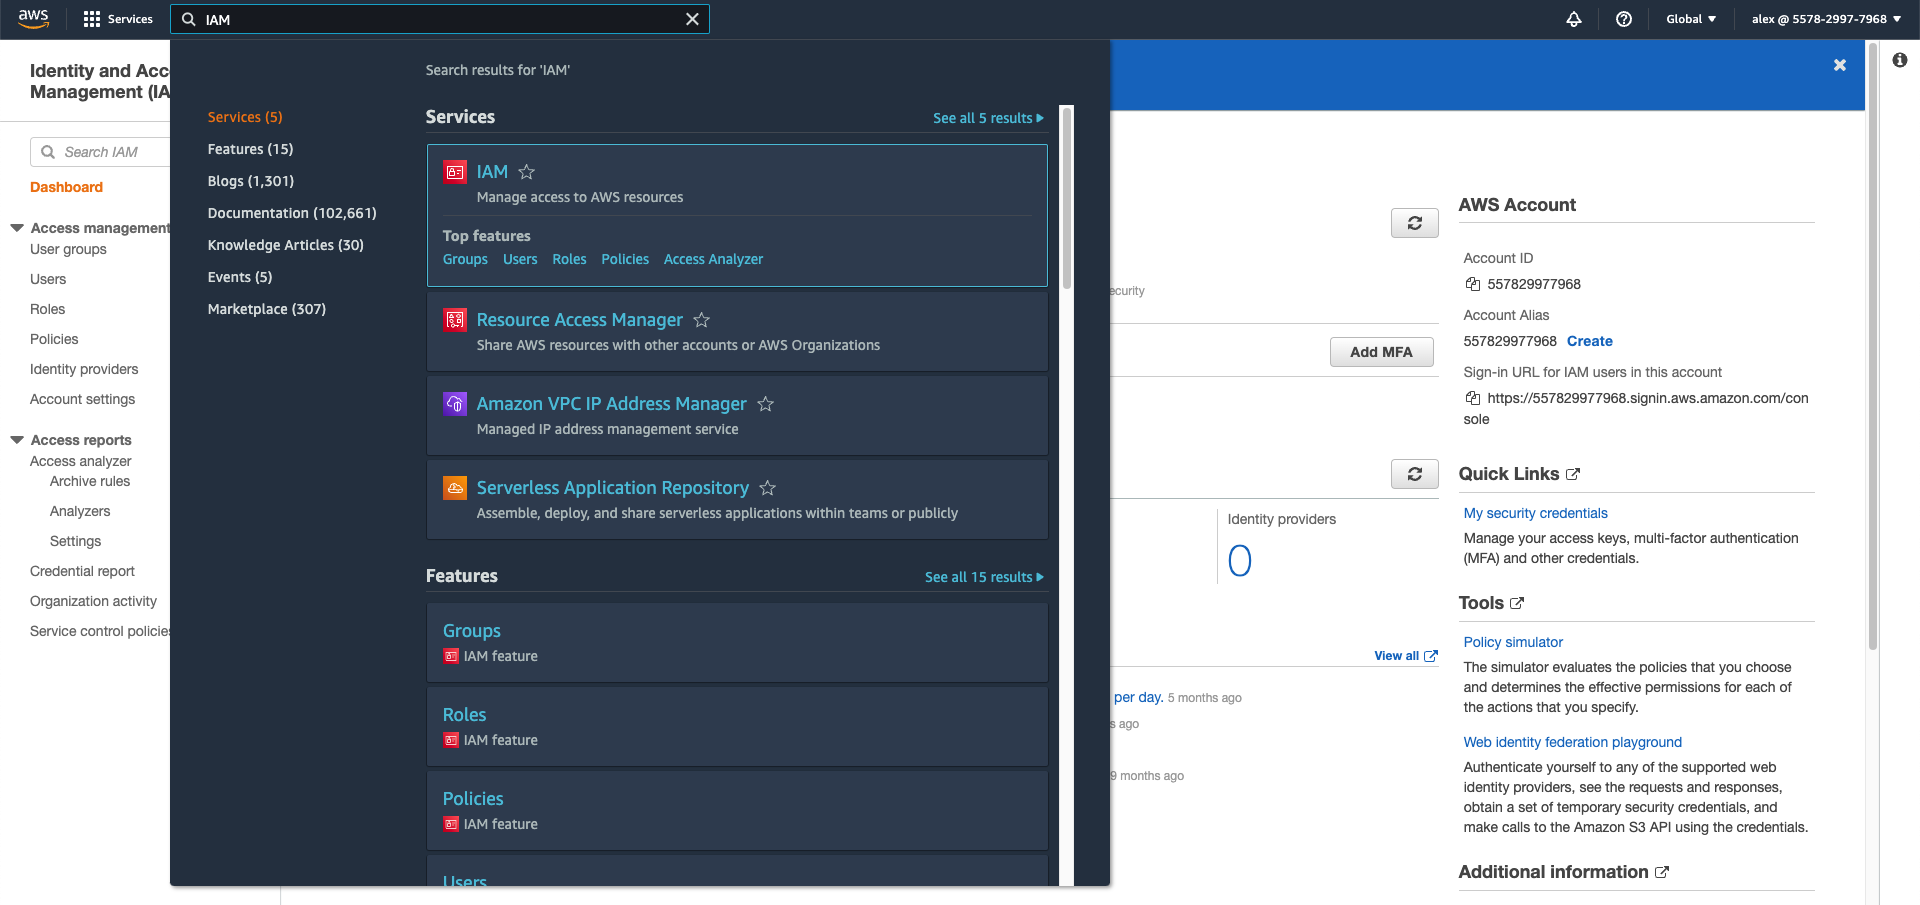
- Go into IAM service in the AWS Console.
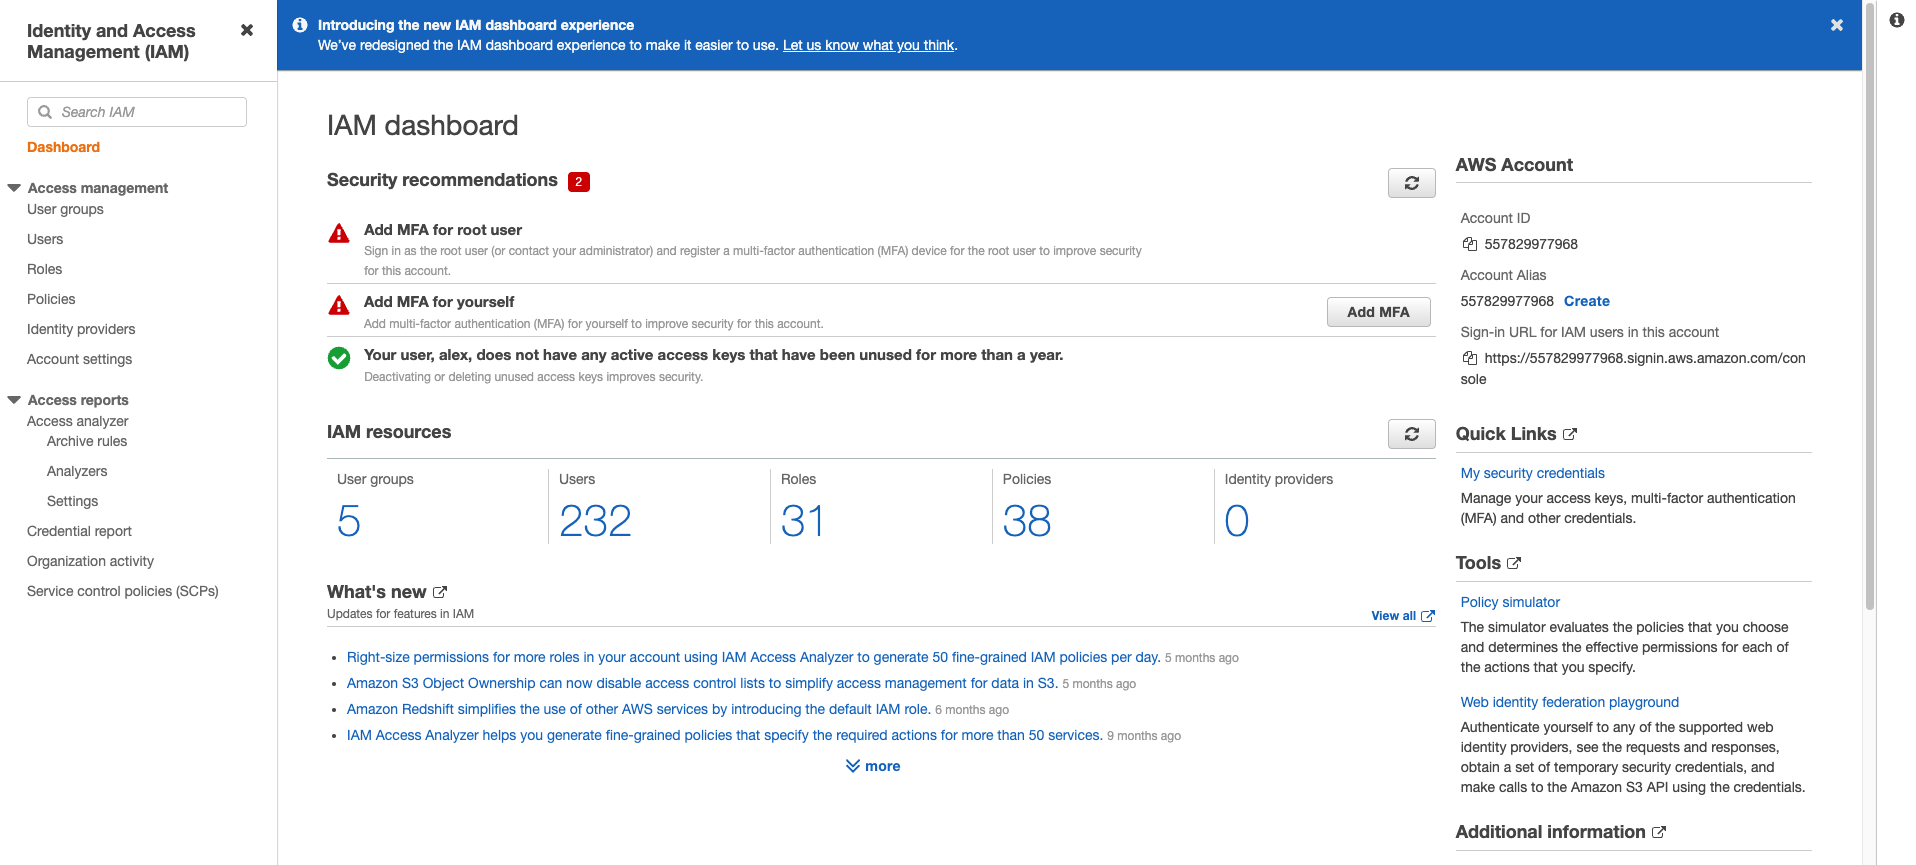
- Select Roles from the Access Management sidebar on the left
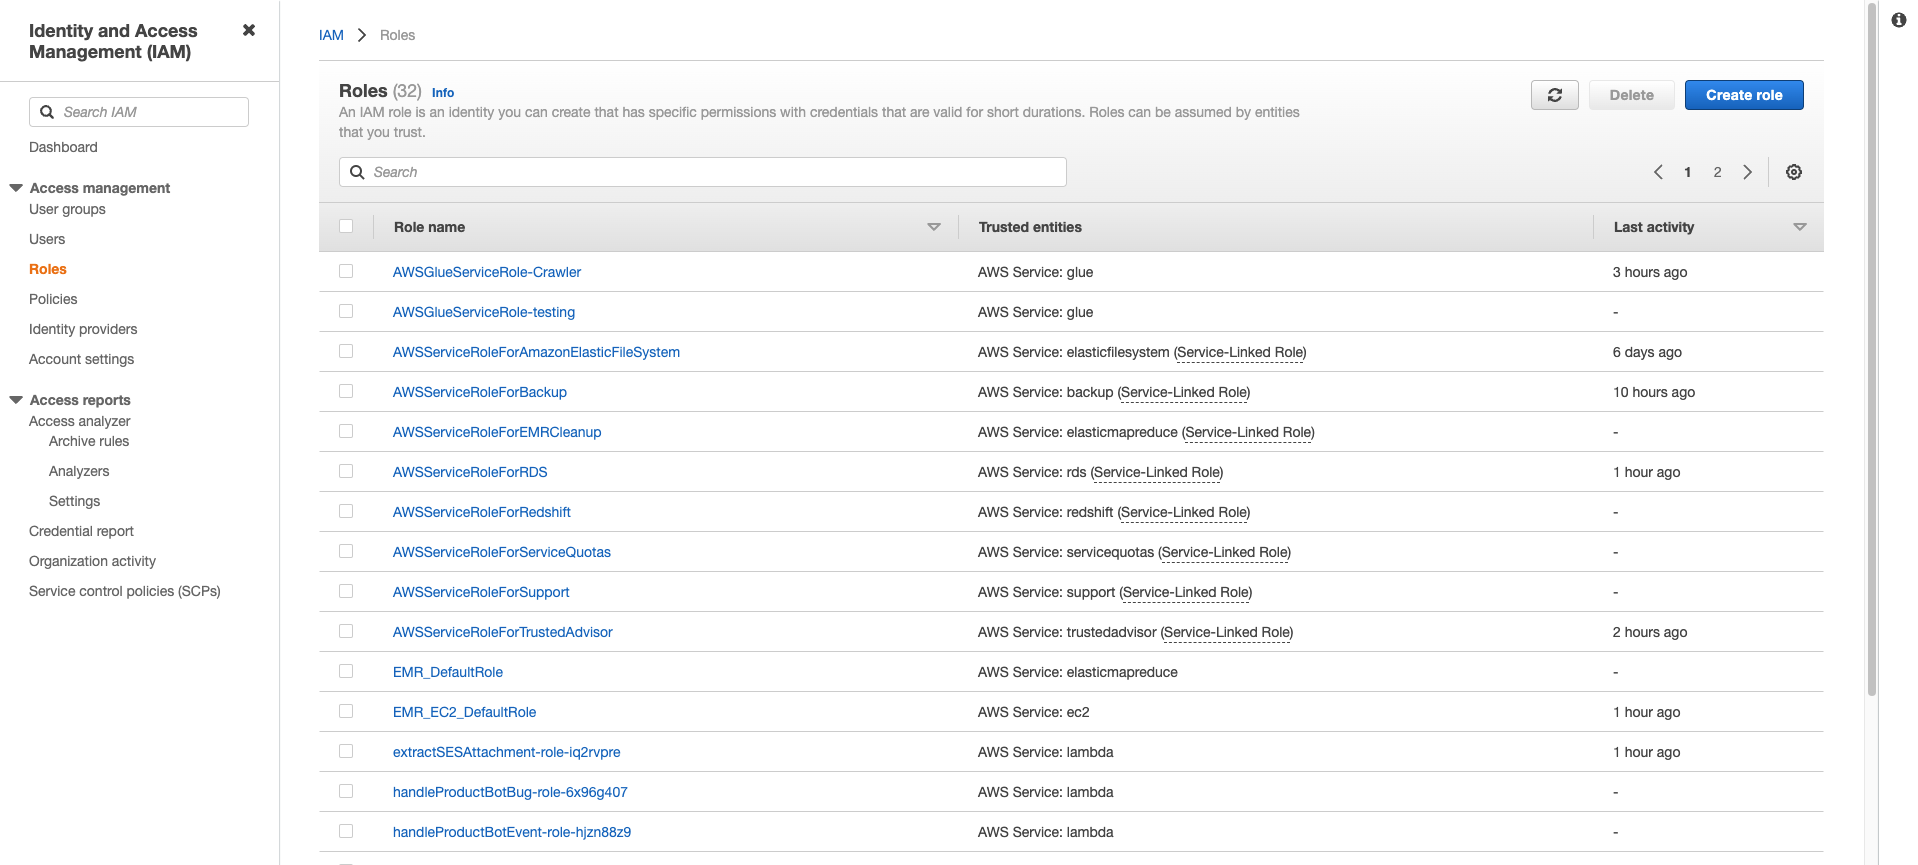
- Click Create Role from the top right portion of the page.
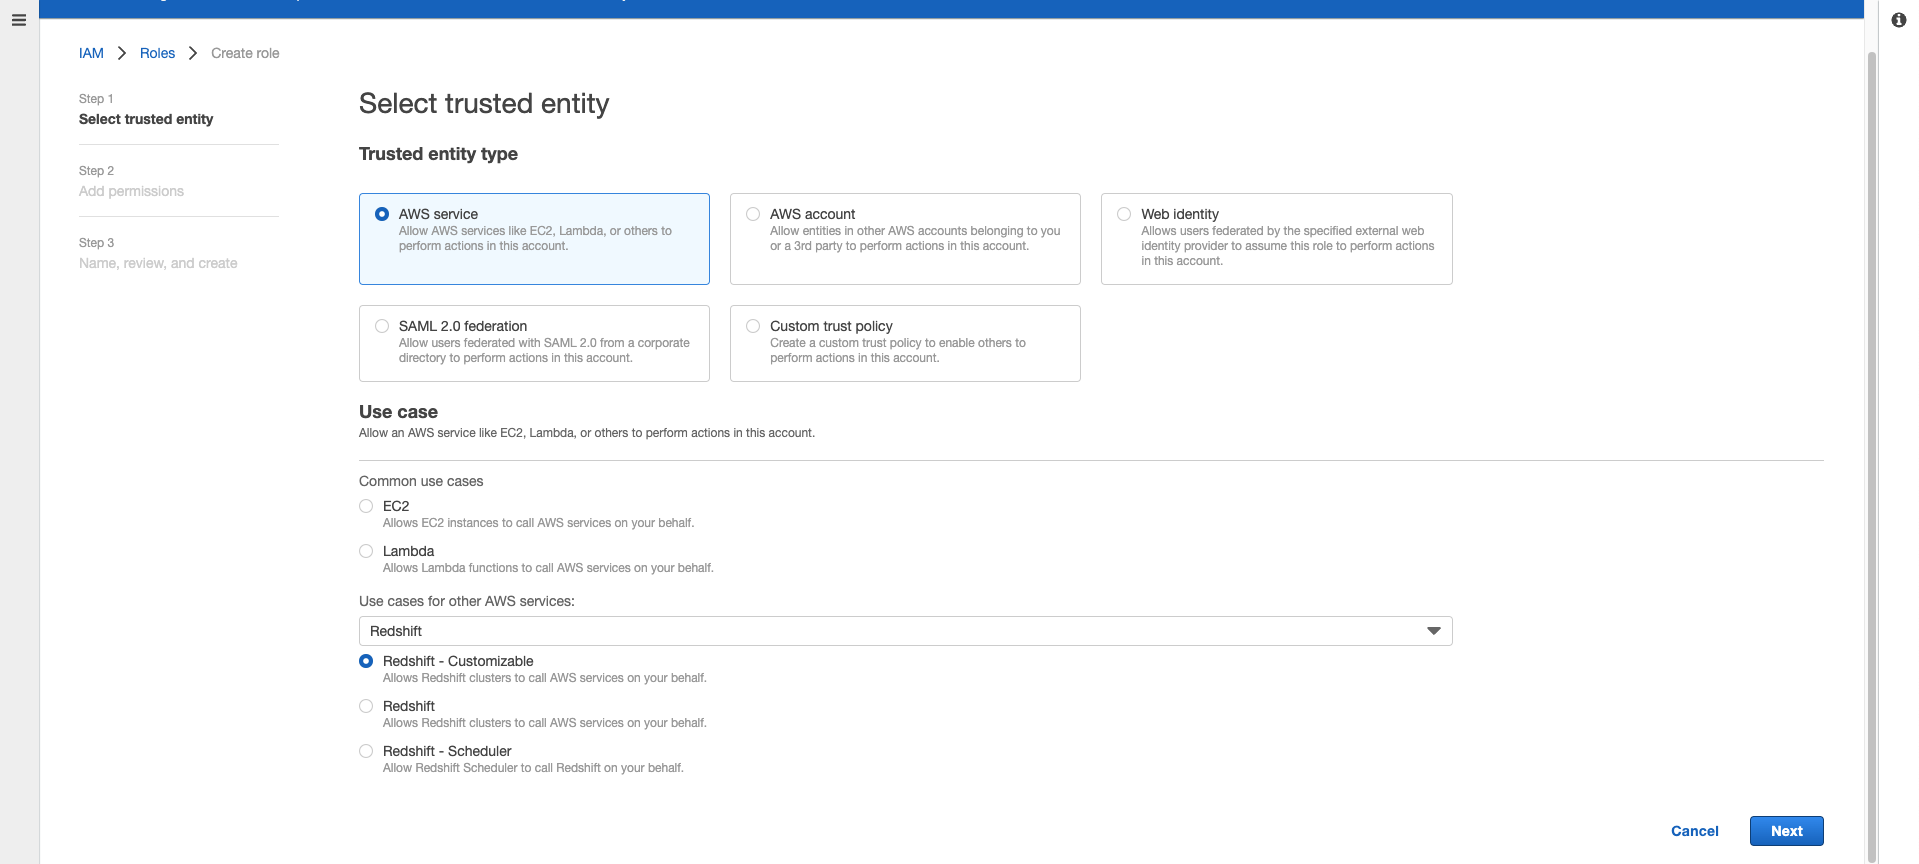
- Keep the trusted entity service as the default AWS Service. Towards the bottom of the page, select Redshift from the dropdown list of “Use Cases for Other AWS Services” section. Then select Redshift - Customizable from the options.
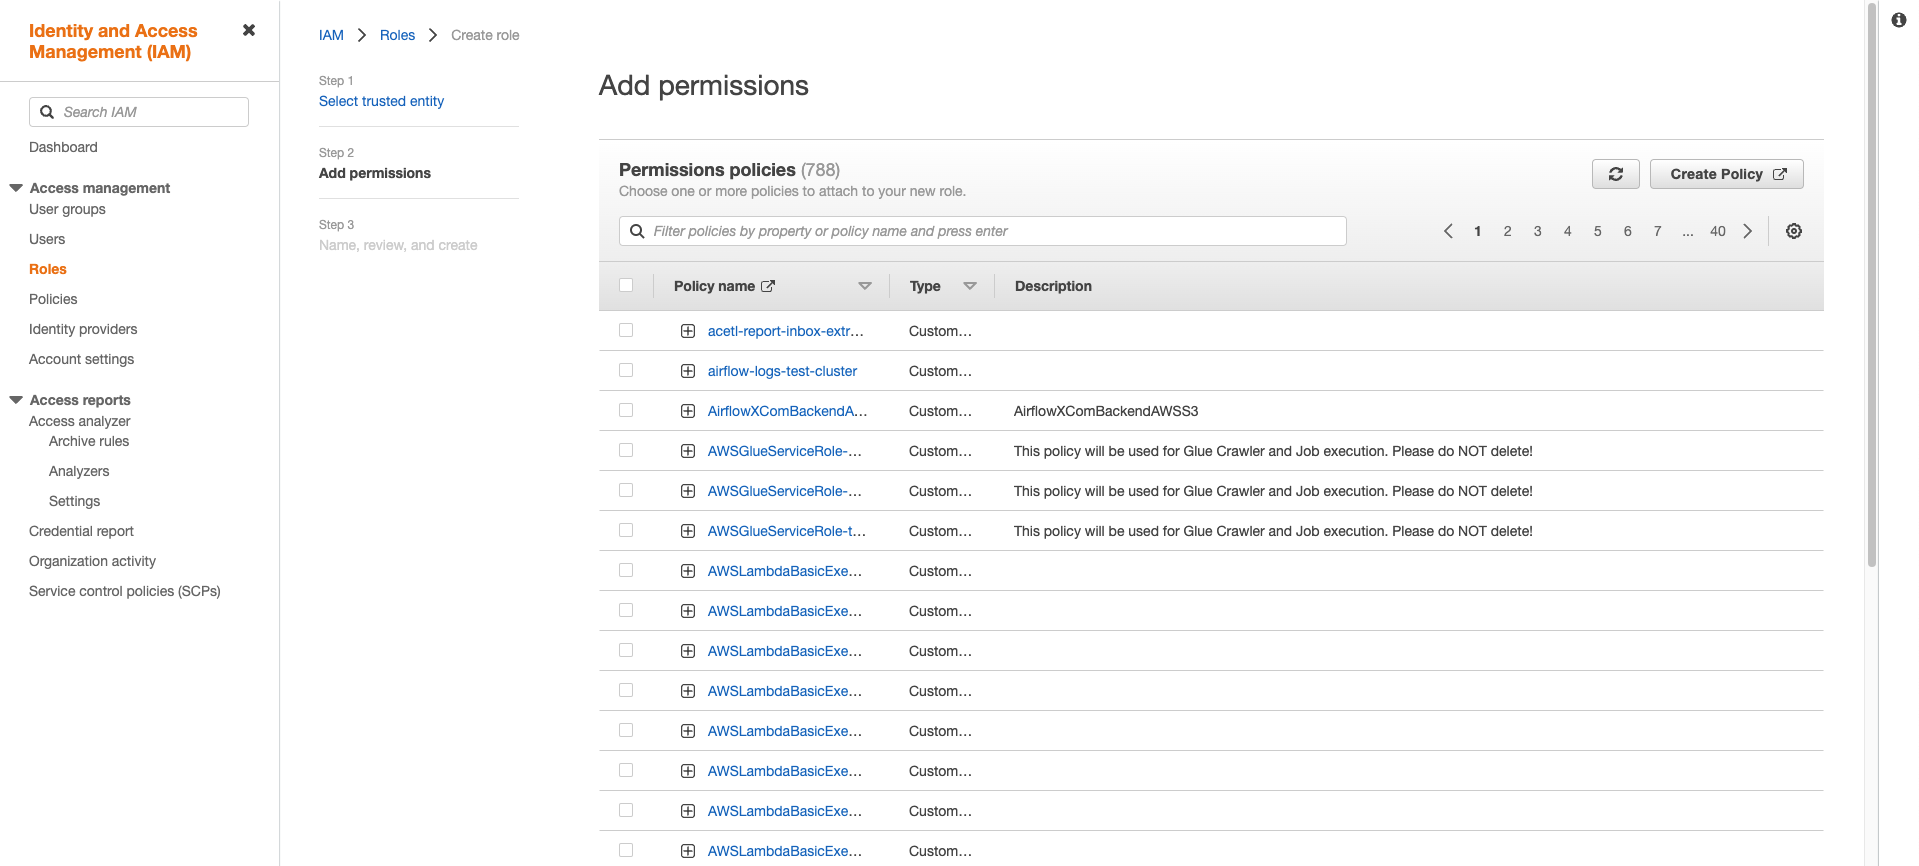
- You’ll be directed to the Permissions page. Don’t add any permissions here, and click Next.
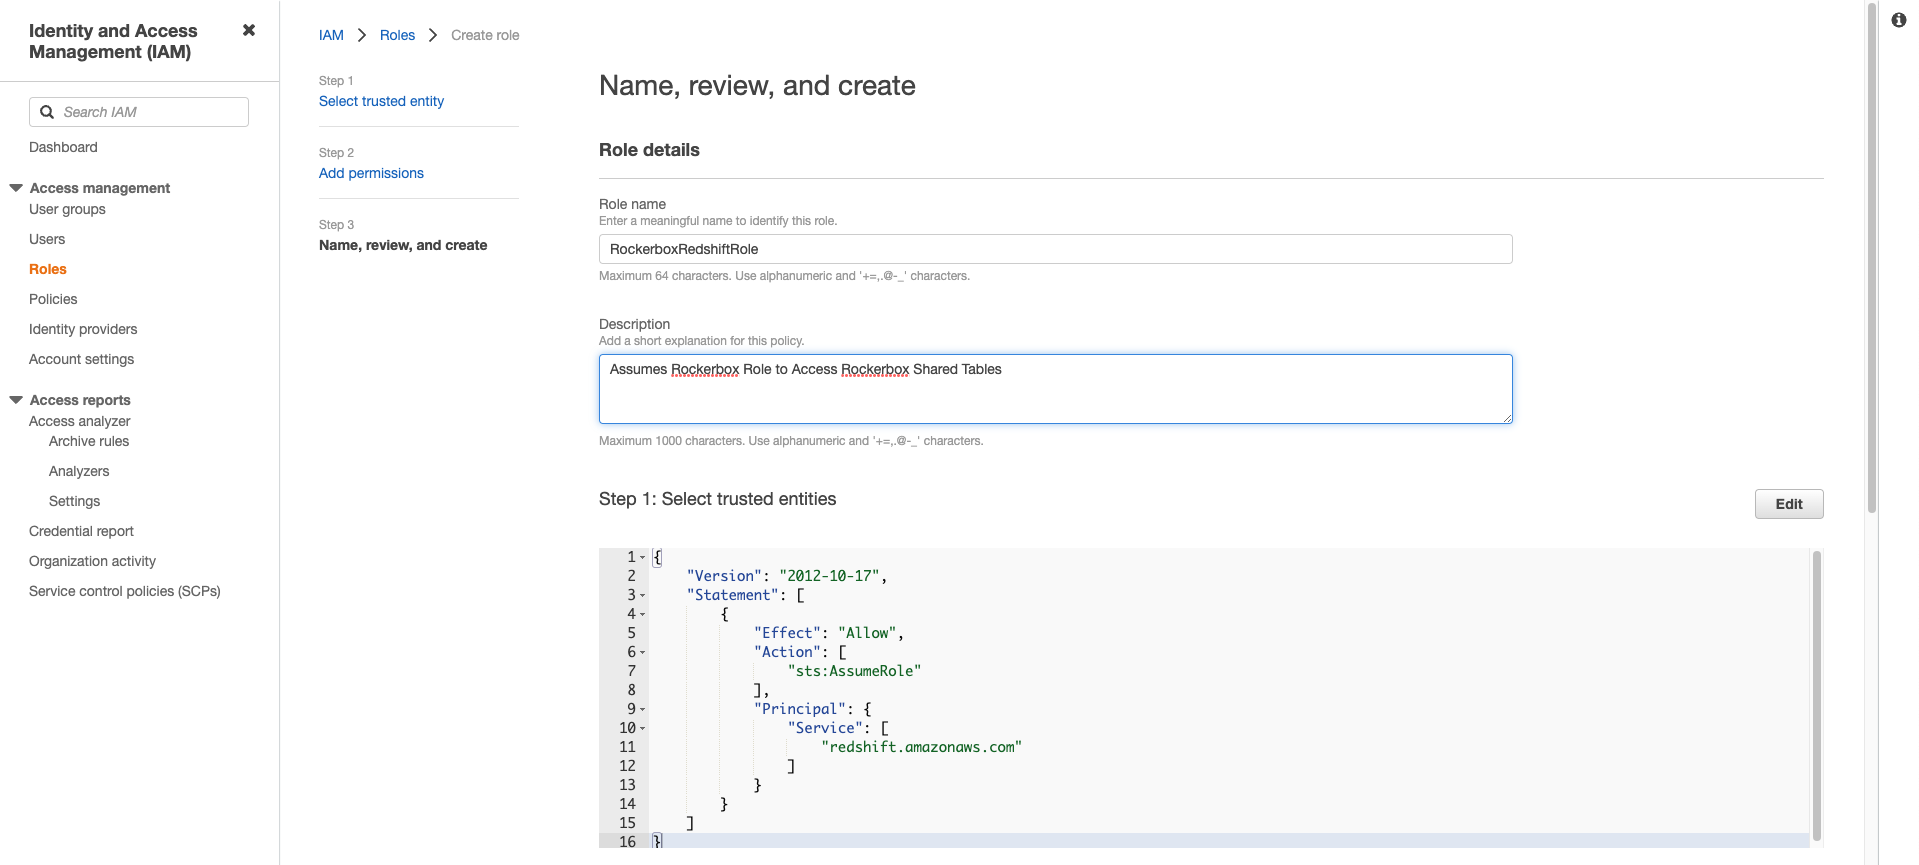
- Name this role “RockerboxRedshiftRole” , and use “Assumes Rockerbox Role to Access Rockerbox Shared Tables” for the description field.
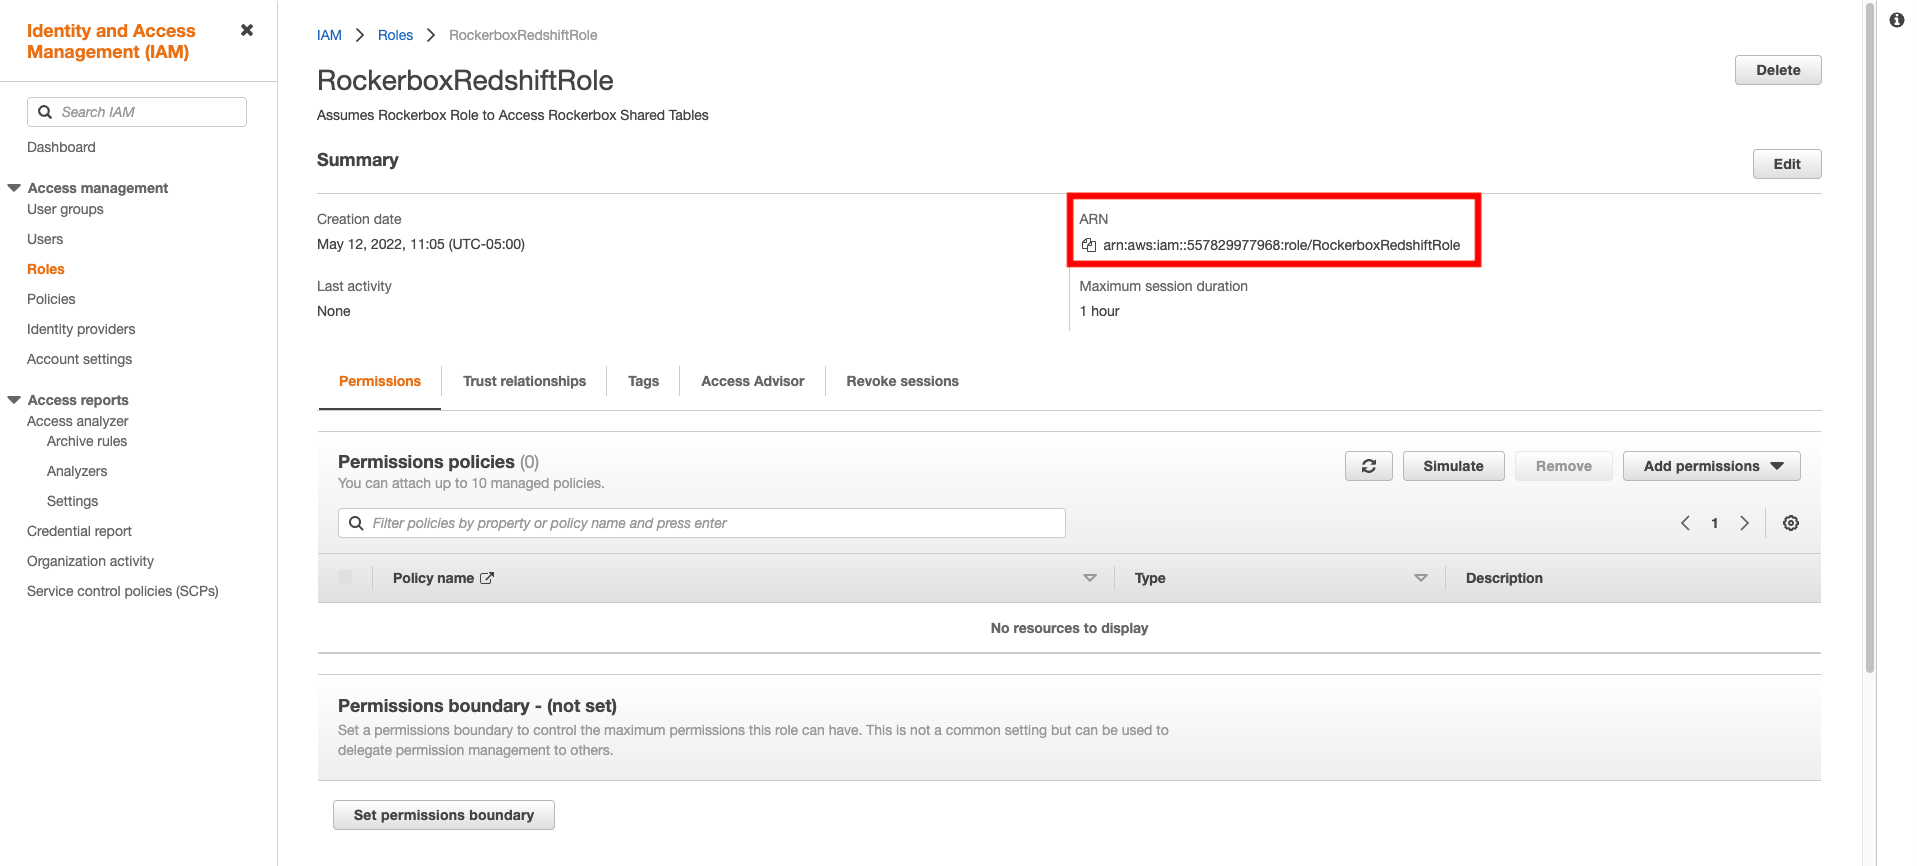
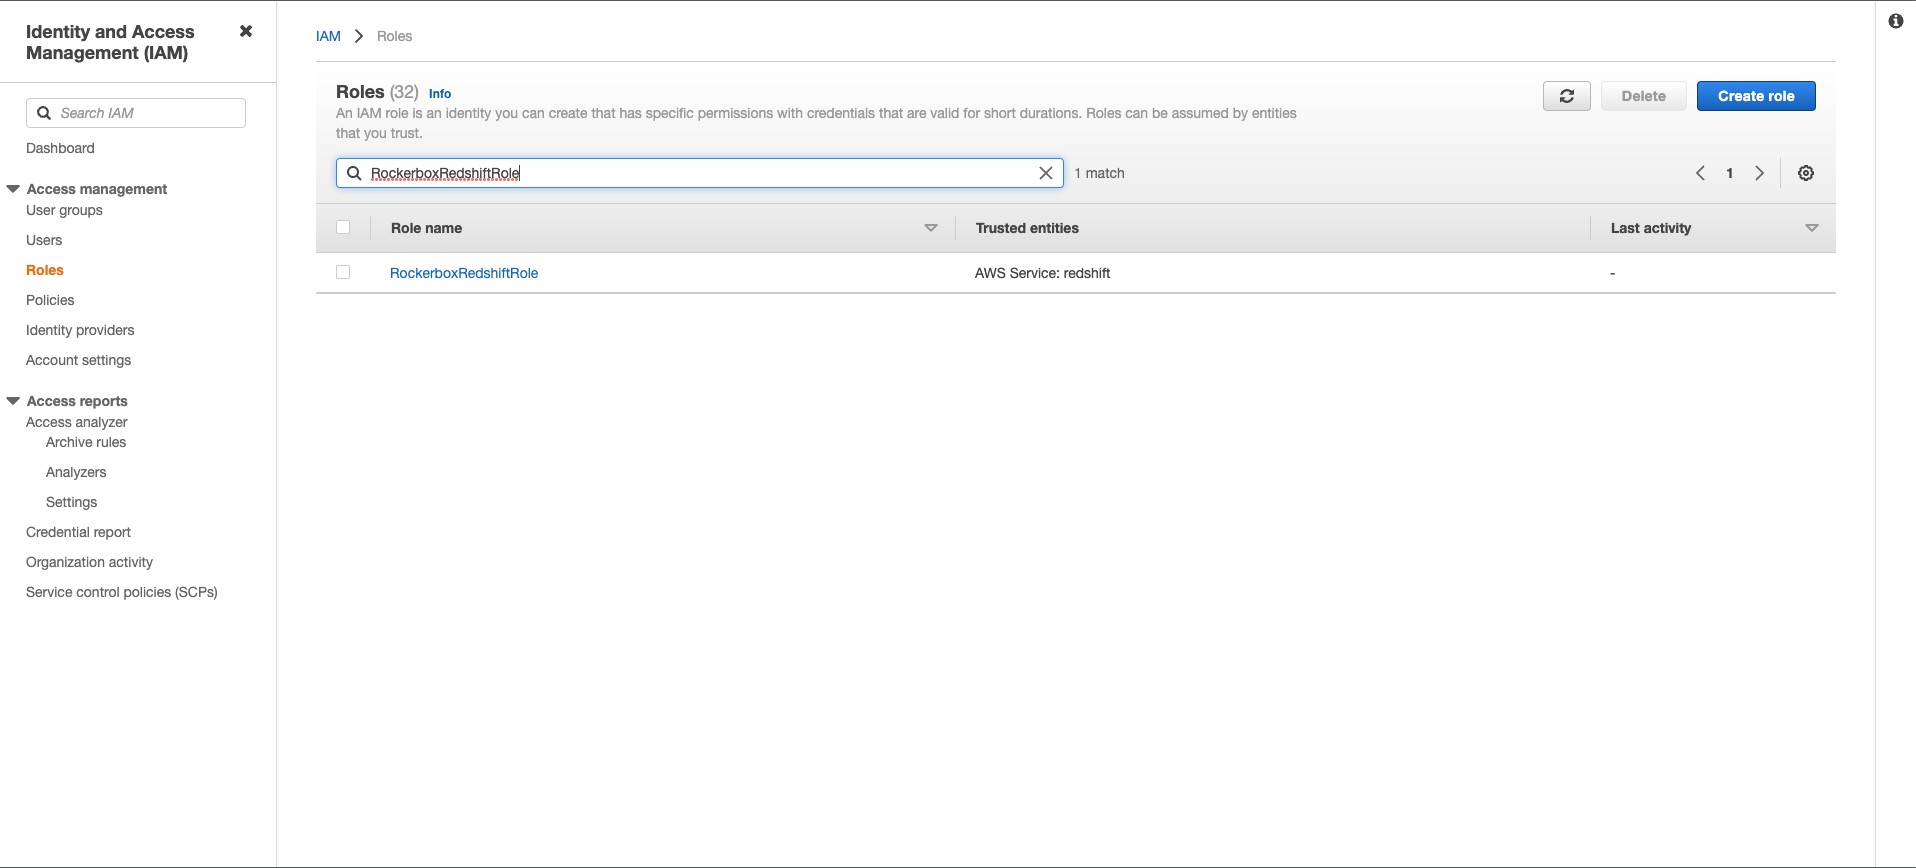
- Find the “RockerboxRedshiftRole” role you just created in the AWS Roles page and click into it.
- Copy the ARN value and return to the Redshift Setup UI where you’ll need to enter this ARN value.
