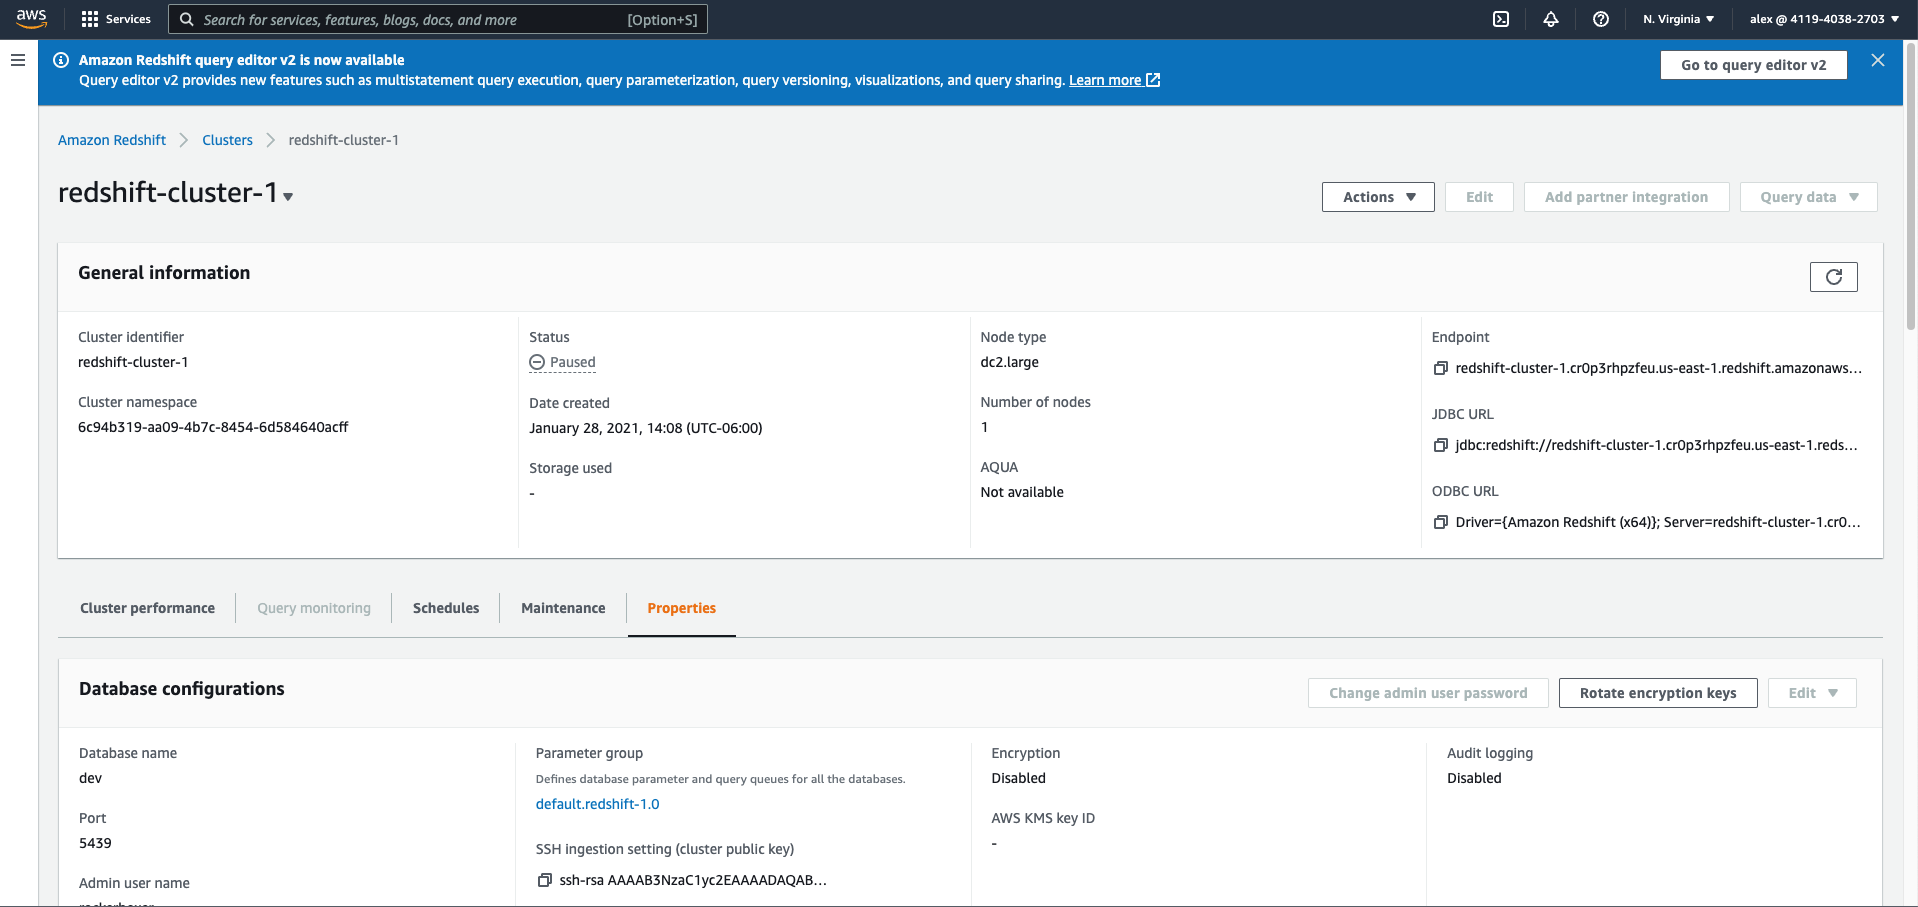
Step 3: Redshift Data Warehouse Setup
This page will take you through associating IAM Role and running an External Schema Command.
- Go into Amazon Redshift service in the AWS Console.
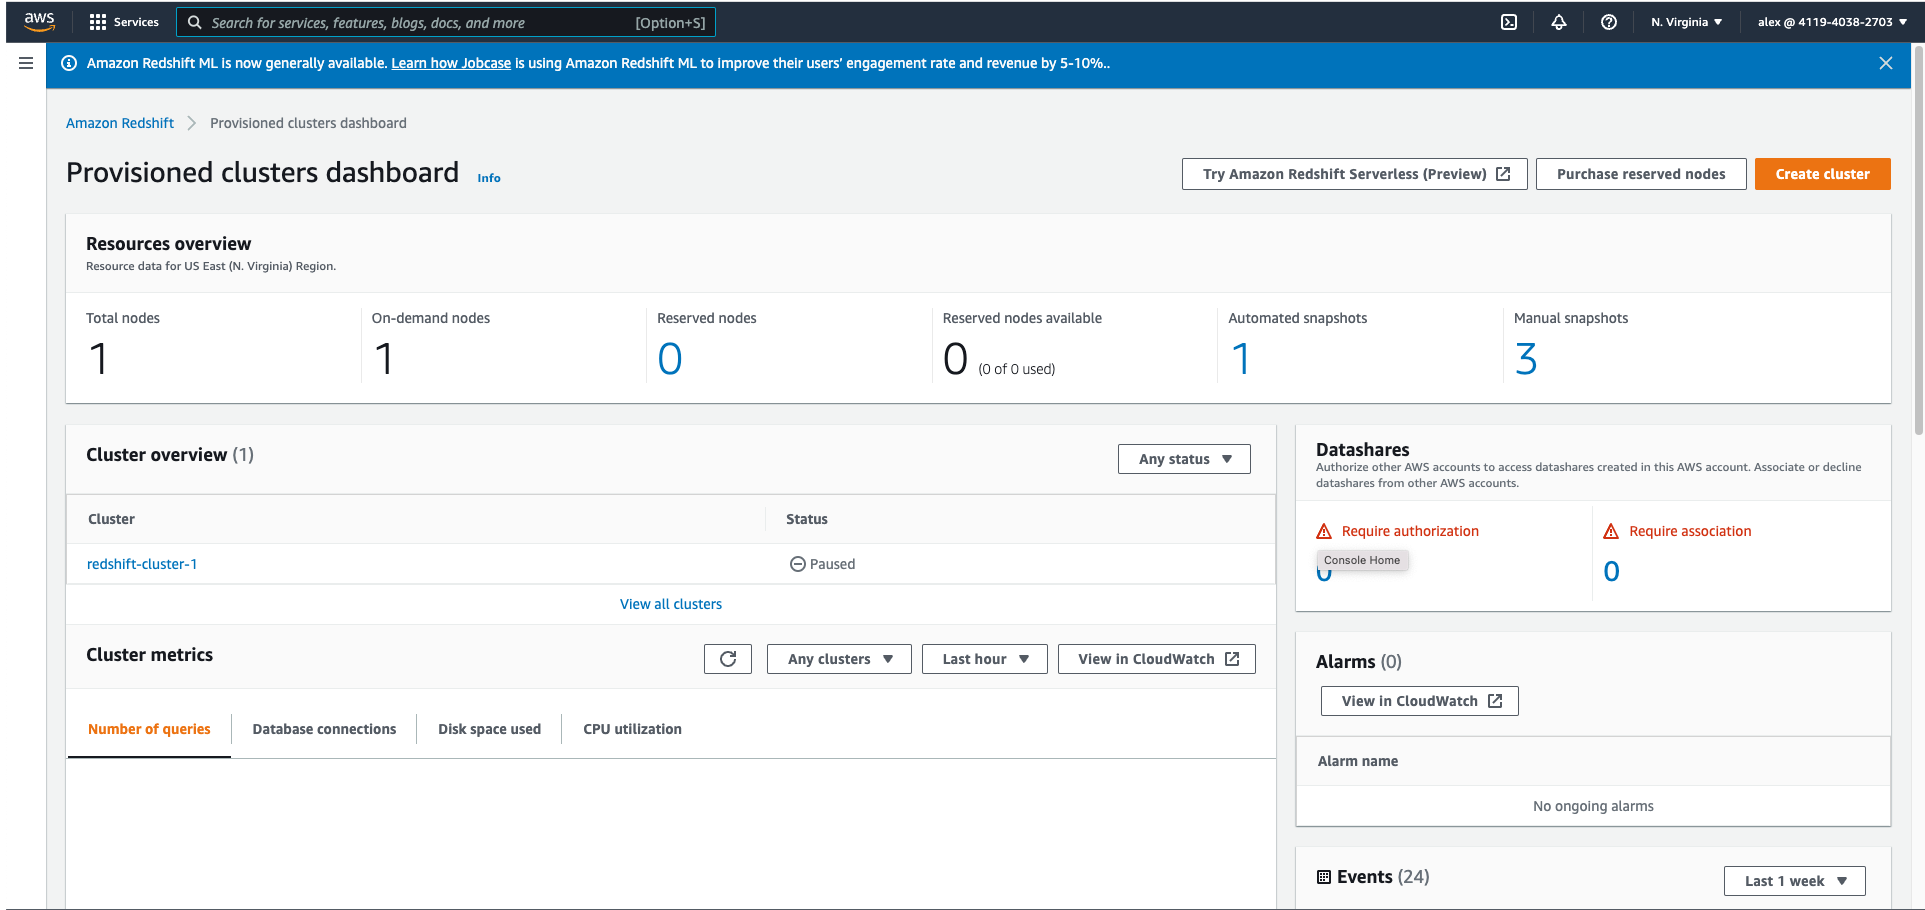
- Select your Redshift cluster from the Provisioned Clusters Dashboard.
- Go to the properties tab inside your Redshift cluster.

- Scroll down to the Cluster Permissions section and click on Manage IAM Roles and then select Associate IAM Roles.
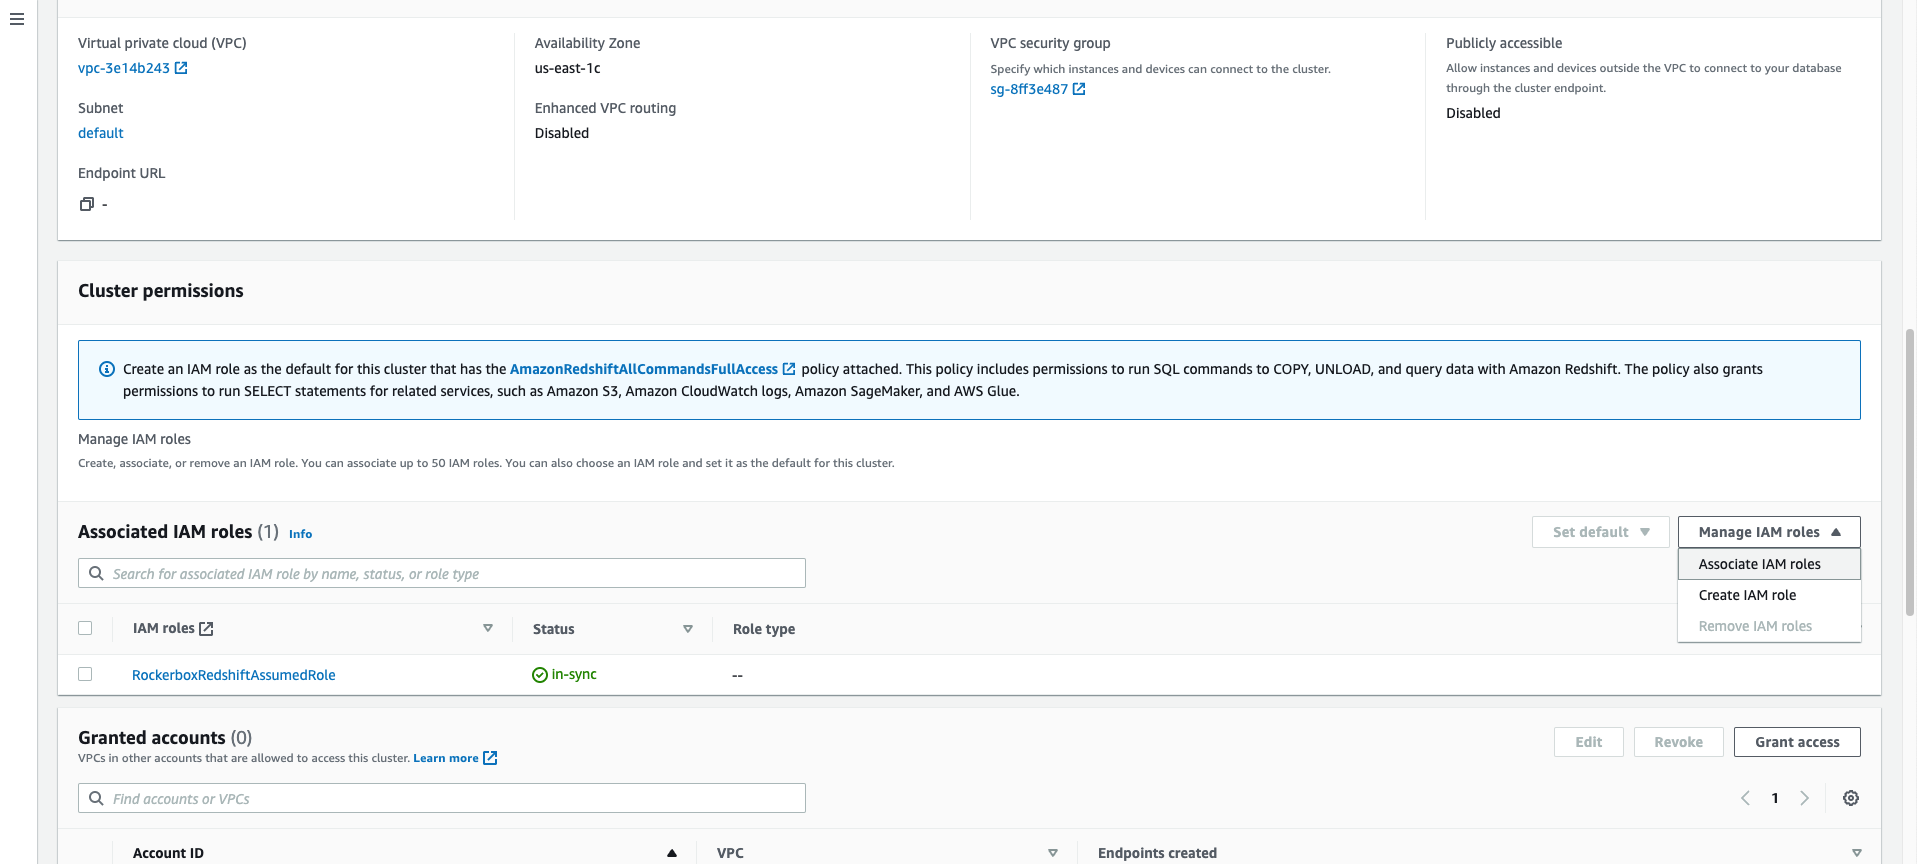
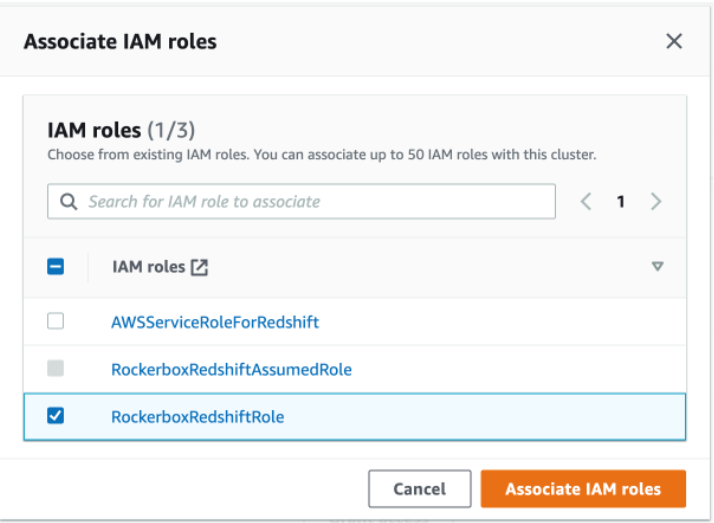
- Select the “RockerboxRedshiftRole” that you previously created in the pop up window and then click on Associate IAM Roles.
- Wait for the role to sync in the Associated IAM Roles list under Cluster Permissions section.


- Scroll to the top of the page and click on “Go to query editor v2” on the right side of the page.
- Copy the External Schema Statement displayed on your Redshift Setup UI, paste it into the query editor, and click Run.
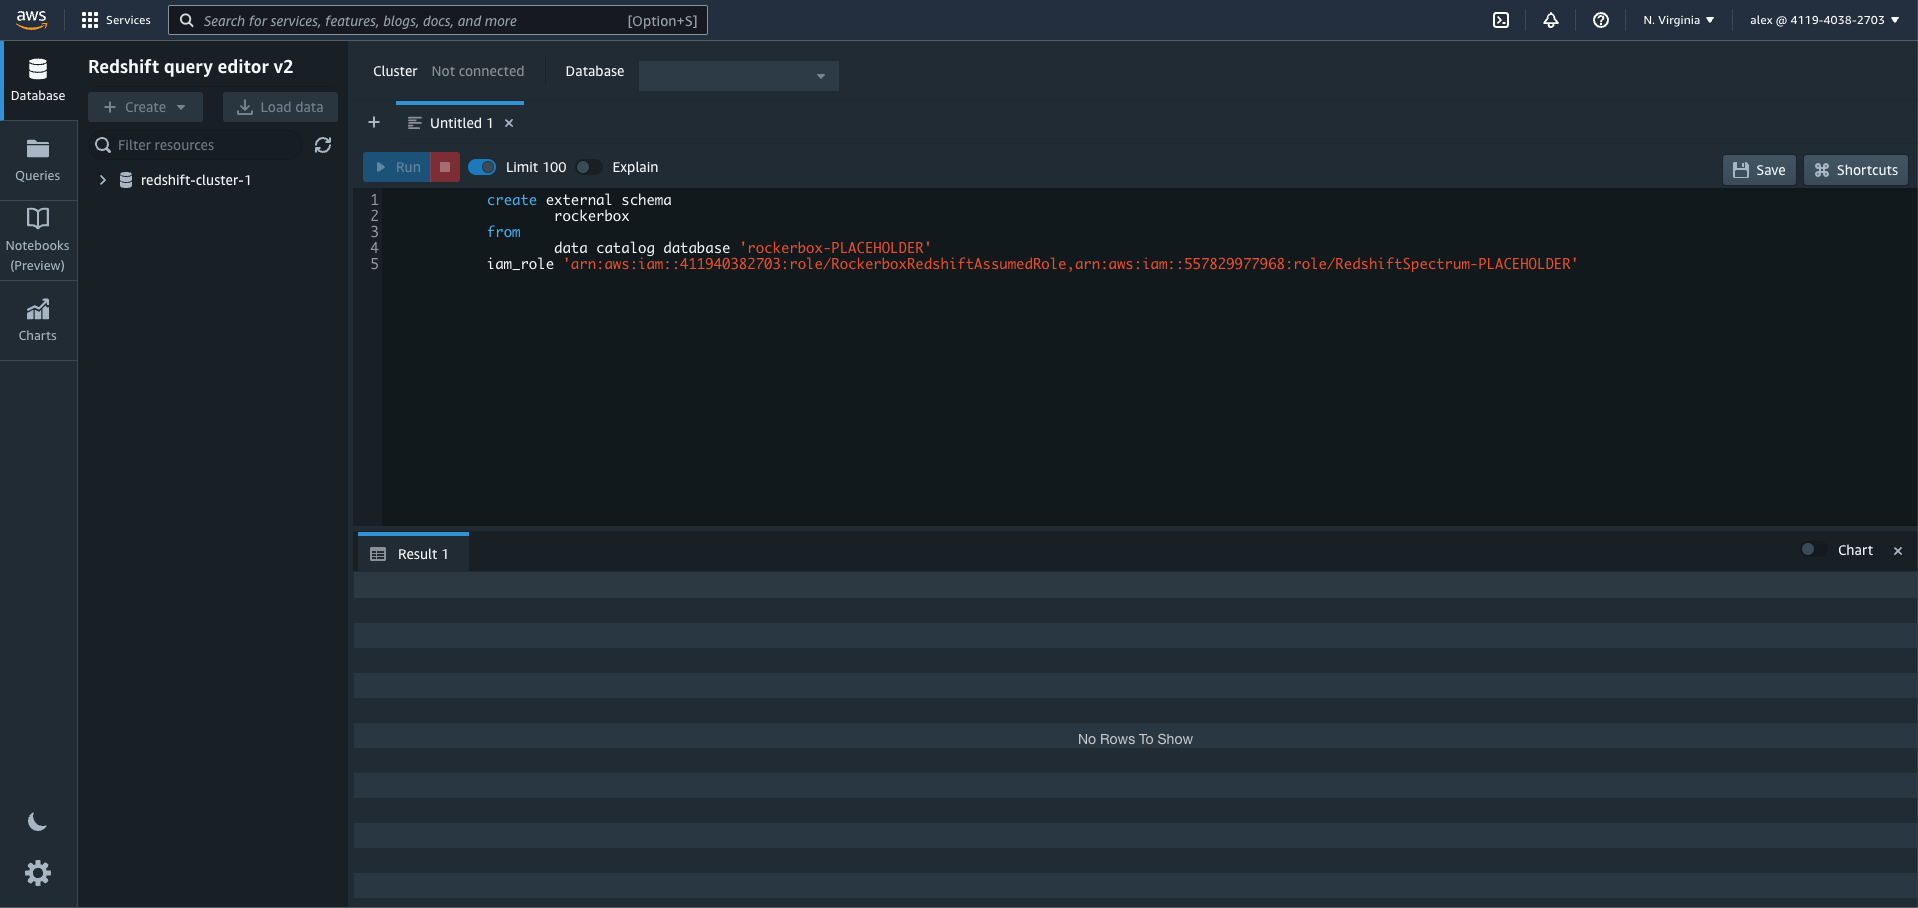
Data should now be available in the Rockerbox schema.